Product
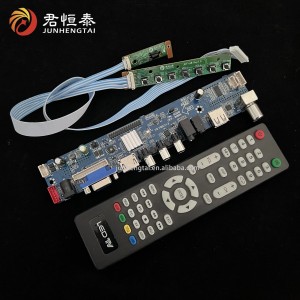
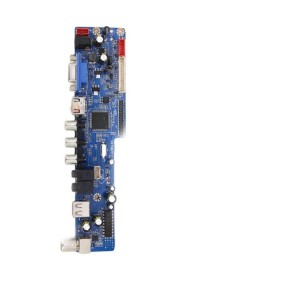
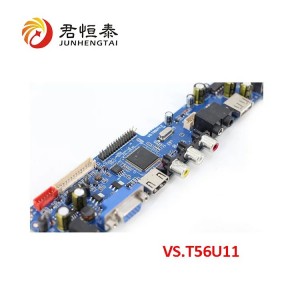
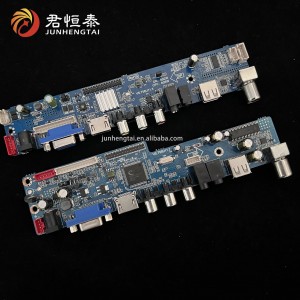
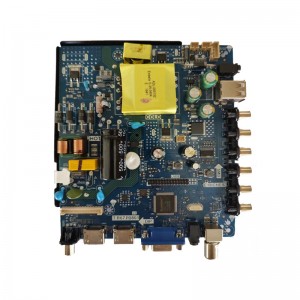
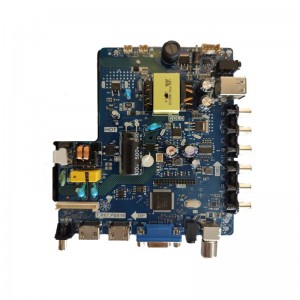
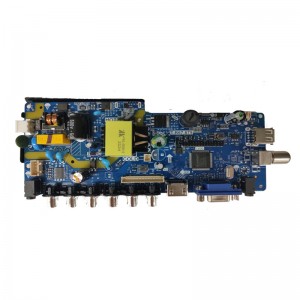
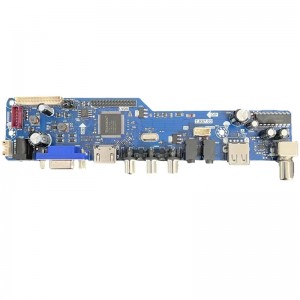
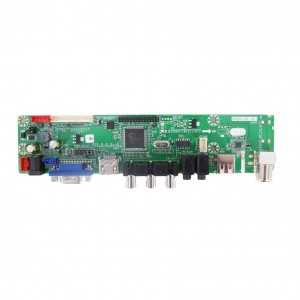
led tv mainboard Universal 24inch drive board v56u11.2
Details:
The product features of V56U11.2/V56U11.3 LED TV motherboard are as follows:
1. Support high-definition resolution: The motherboard supports high-definition resolution, which can make the TV picture more delicate, clear and lifelike, so that the audience can enjoy a better visual experience.
2. Multiple video input interfaces: V56U11.2/V56U11.3 TV motherboard supports multiple video input interfaces, such as HDMI, VGA, USB, etc., which can meet the different needs of users.
3. Brightness and contrast adjustment: The main board has the function of adjusting brightness and contrast, allowing users to set according to actual needs to achieve the best visual effect.
4. Easy to upgrade: The motherboard supports online firmware upgrade, and can continuously obtain more functions and optimized experience with technology updates and upgrades.
5. Smart dormancy: V56U11.2 LCD TV motherboard has a smart dormancy function, which can automatically enter the standby state when there is no operation, and the power saving effect is remarkable.
6. Good stability: The motherboard has built-in high-quality components, supports long-term stable operation, and is not easily affected by external interference
The installation of the LCD motherboard is a very technical work that requires care, patience and precision.
The following is the installation operation method of the LCD motherboard:
1. Tool preparation: To install the LCD motherboard, you need to prepare some tools, such as screwdrivers, power cords, data cables, etc., as well as necessary anti-static measures to avoid damage to the motherboard during the installation process.
2. Disassemble the original motherboard: Before assembly, the original motherboard on the TV needs to be disassembled. First disconnect the power and remove the screen back cover, then remove all the electrical and data cables from the original motherboard, and remove the motherboard itself.
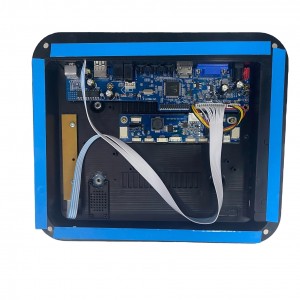
3. Install the LCD main board: Install the new LCD main board into the TV casing and fix it with screws. When installing the motherboard, carefully check the distance and physical contact between the motherboard and the TV casing to ensure that the connectors on the motherboard properly connected.
4. Connect wires and data cables: Connect the LCD mainboard to appropriate wires and data cables according to the diagram on the motherboard manual. Make sure the polarity of the power and signal wires are connected correctly to avoid short circuits.
5. Turn off the TV: Reassemble the TV casing, plug the TV into the socket and turn on the power, and then test whether the TV can be turned on normally and display images. Generally speaking, the installation of LCD motherboard requires experience and professional skills. If you do not have these skills, it is recommended to seek the help of a professional technician or a professional installation service agency to install the LCD motherboard.
FAQ
Q1. Can I have a sample order for led BOARD ?
A: Yes, we welcome sample order to test and check quality. Mixed samples are acceptable.
Q2. What about the lead time?
A: Sample needs 3-5 days, mass production time needs 1-4 weeks for order quantity more than.
Q3. Do you have any MOQ limit for led BOARD order?
A: Low MOQ, 1pc for sample checking is available.
Q4. How do you ship the goods and how long does it take to arrive?
A: We usually ship by DHL, UPS, FedEx or TNT. It usually takes 3-15 days to arrive. Airline and sea shipping also optional.
Q5. Is it OK to print my logo on led BOARD product?
A: Yes. Please inform us formally before our production and confirm the design firstly based on our sample.We can talk more details about this .


